
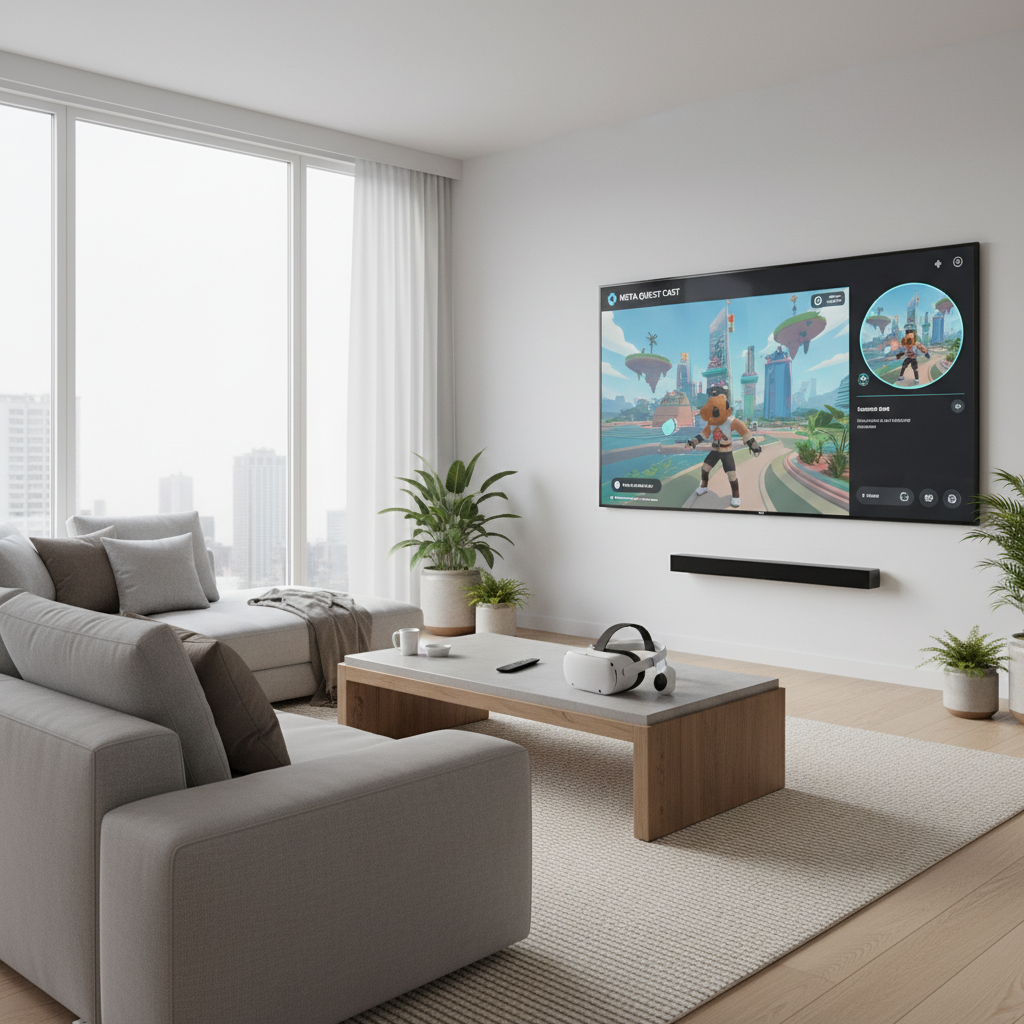
how to cast quest 3 to tv comes down to two reliable paths, wireless casting through the Meta Quest app or built-in casting targets, and a wired-style fallback using a computer and HDMI.
If you tried once and got a black screen, choppy video, or a TV that never appears, you are not alone, casting depends on Wi‑Fi setup, device compatibility, and a couple Quest settings that are easy to miss.
This guide stays practical, what works most often in US living rooms, how to pick the right method for your TV, and what to check when it stubbornly refuses to connect.
Quick compatibility check (before you troubleshoot for an hour)
Before you chase settings, confirm your target device is even a good casting match. In many cases, Quest 3 casting works best with Chromecast built-in targets, a Chromecast dongle, or a browser-based cast session on a computer.
What usually works
- Chromecast (dongle or built-in) on many Google TV, Android TV, and some smart TVs.
- Phone casting to a TV via screen mirroring as a workaround, quality varies.
- PC or Mac browser casting to then output via HDMI to a TV, more steps but dependable.
What is hit-or-miss
- Roku, Fire TV direct casting, often not supported as a native target, workarounds may lag.
- Apple TV typically needs iPhone screen mirroring rather than direct Quest targeting.
- Hotel Wi‑Fi, guest networks commonly block device discovery, even if internet works.
According to Meta (Meta Quest Support), casting targets and availability can vary by device, network, and software version, so if your exact TV model does not show up, it is not always user error.
Method 1: Cast from Quest 3 to a TV with Chromecast (most straightforward)
If your TV supports Chromecast or you have a Chromecast dongle, this is the cleanest way to show gameplay without extra hardware. It is also the method most people mean when they search how to cast quest 3 to tv.
Step-by-step
- Put your TV on the correct HDMI input (if using a dongle) and confirm the Chromecast is online.
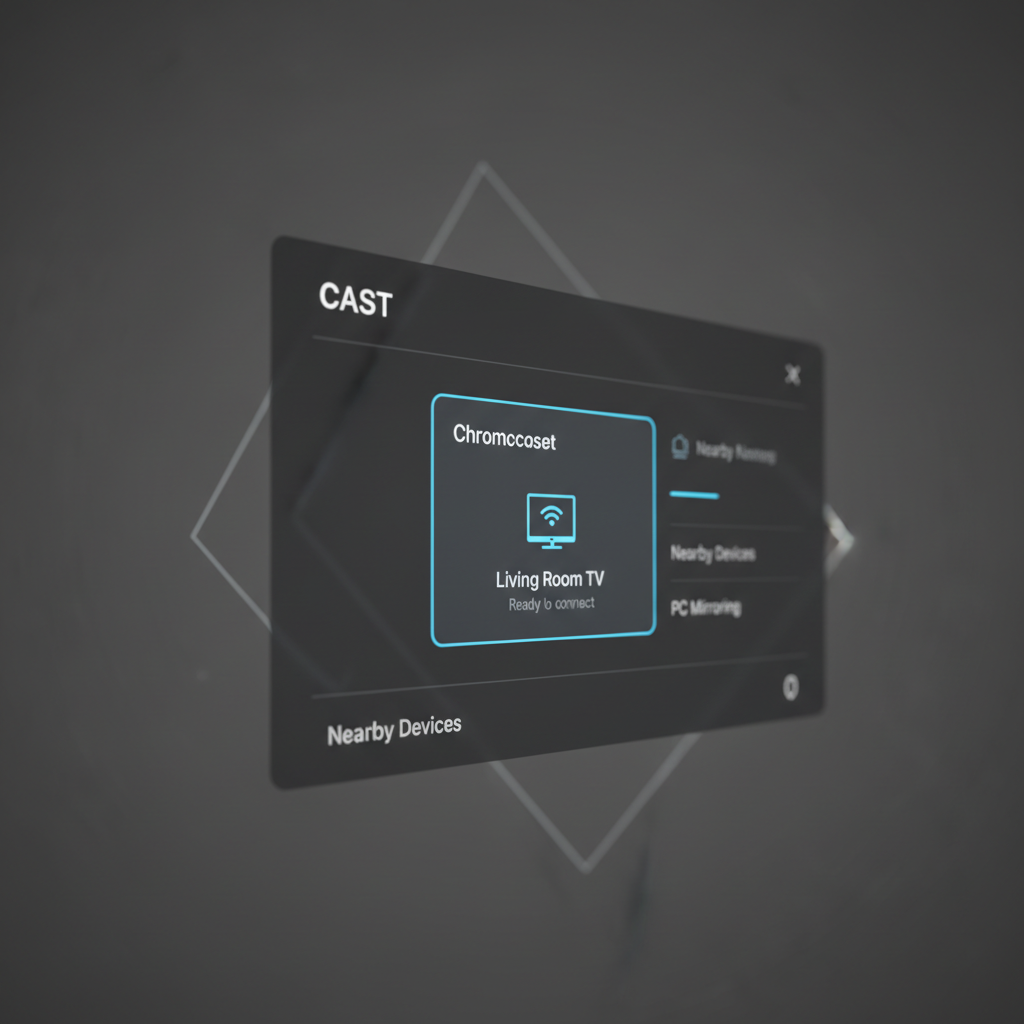
- On Quest 3, open Quick Settings (click the clock area) and find Cast.
- Select your Chromecast device from the list, then choose Start.
- Accept any prompts on the TV if they appear.
If you do not see your TV listed
- Confirm Quest 3 and Chromecast are on the same Wi‑Fi network, not one on 2.4 GHz and the other on 5 GHz with isolation enabled.
- Restart the headset and the TV device, discovery can get stuck.
- Turn off VPN on your router if you run one, some setups break local discovery.
Method 2: Cast with the Meta Quest app (easy to start, depends on your TV)
The Meta Quest mobile app is convenient because you can start casting without digging through headset menus, and you can also share to a phone first, then decide how to get it onto a TV.
Start casting to your phone
- Install the Meta Quest app on iOS or Android and sign in to the same Meta account as the headset.
- Make sure Bluetooth is enabled on your phone, then open the app and connect to Quest 3.
- Tap Cast and choose your Quest 3 as the source, then select This Phone.
Get it from your phone to the TV
- iPhone to Apple TV: use AirPlay screen mirroring, expect some delay.
- Android to Chromecast: use the phone’s Cast feature, quality often better than generic mirroring.
- Smart TV mirroring: if your TV supports Miracast or vendor mirroring, it might work, but lag varies.
This method is popular for parties because it is quick to initiate, but if you care about smooth motion, direct casting to Chromecast usually feels better.
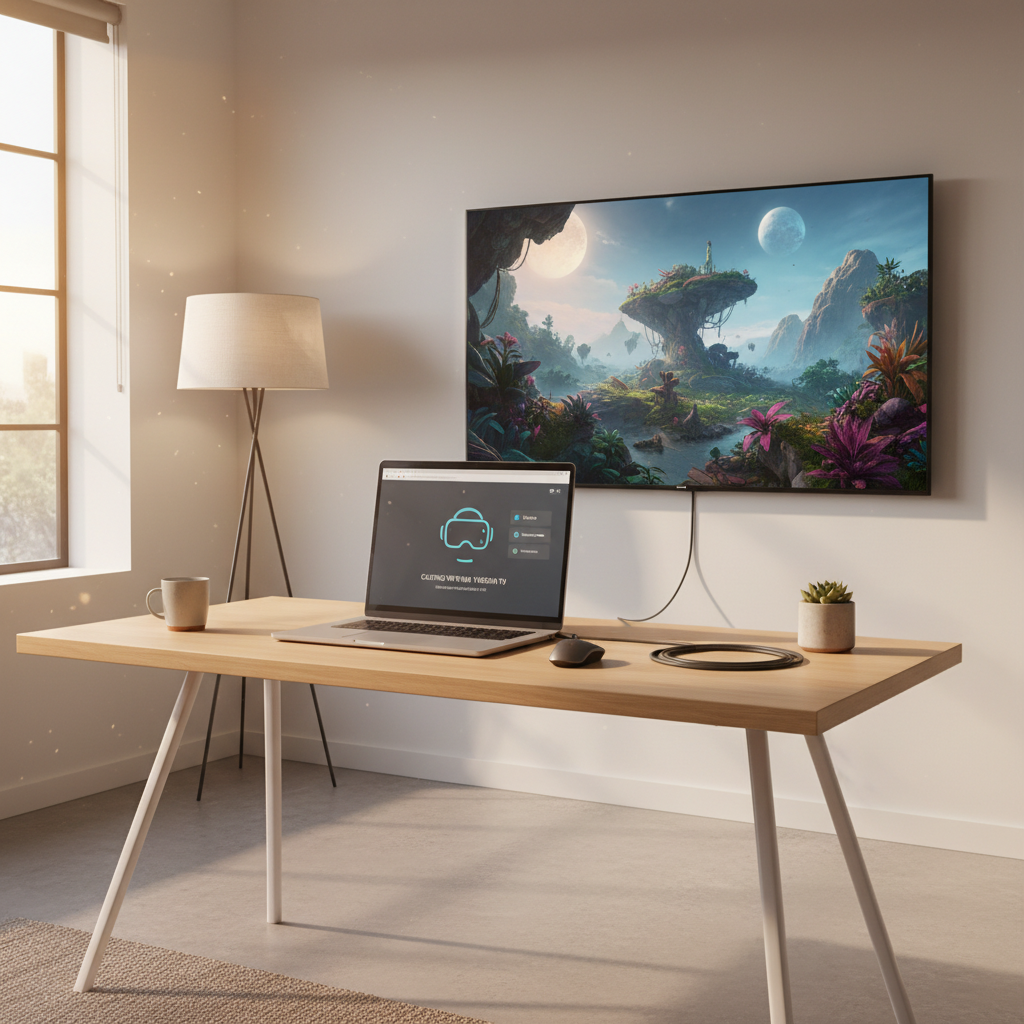
Method 3: Cast to a browser, then HDMI to the TV (best fallback)
If wireless targets keep failing, browser casting gives you a controlled path. You cast Quest 3 to a computer, then display that computer on your TV via HDMI. It is not fancy, but it saves the night.
What you need
- A laptop or desktop on the same Wi‑Fi network as Quest 3
- An HDMI cable (or USB‑C to HDMI if your computer needs it)
- A modern browser (Chrome or Edge tends to behave well)
Steps
- On your computer, open the official casting page: https://www.meta.com/casting
- Sign in with the same Meta account as your headset.
- On Quest 3, open Cast and choose Computer (or follow the prompt shown on the casting page).
- Connect the computer to the TV via HDMI and set the display to Duplicate or Second Screen.
According to Meta (Meta Quest Support), casting via browser is an official option, which is why it often works even when a particular TV target refuses to appear.
Which casting method should you choose? (simple table)
If you just want a fast decision, use this. Realistically, your TV ecosystem matters more than any “one trick.”
| Goal | Best method | Tradeoffs |
|---|---|---|
| Smoothest, simplest TV casting | Direct to Chromecast | Needs Chromecast support |
| Quick start, no extra devices | Meta Quest app to phone | Mirroring to TV can add lag |
| Most dependable fallback | Browser casting to PC + HDMI | More setup, cables involved |
| Streaming to friends online | PC capture/streaming workflow | More complexity, possible audio routing issues |
Self-check checklist: why Quest 3 casting fails (and the fixes that matter)
Most “casting is broken” reports come down to networking and permissions, not the headset itself. Run this checklist once, and you usually stop guessing.
- Same network: headset and TV device must be on the same Wi‑Fi and same router, avoid guest networks.
- Network isolation: many routers block device discovery between clients, turn off AP isolation if enabled.
- Reboot order: restart TV device, then router, then Quest 3, discovery often returns.
- Update software: keep Quest system software and TV casting firmware updated, mismatches can cause failed handshakes.
- Permissions: allow casting prompts, and confirm the Meta Quest app has local network permissions on iOS.
- Wi‑Fi quality: if the headset is far from the router, you may see lag, dropouts, or blocky video.
Key points most people skip
- 5 GHz is usually better for smooth casting if your router signal is strong in the room.
- Mesh Wi‑Fi can confuse discovery in some homes, not always, but it happens, try connecting both devices to the same node.
- Bluetooth is not the casting link, it helps pairing, but the video stream runs over Wi‑Fi.
Practical tips for better quality (less lag, fewer dropouts)
If you are already able to cast but it looks rough, these are the upgrades that actually show up on screen.
- Move closer to the router or place the router in the same room for demo sessions.
- Reduce competing traffic, heavy downloads or 4K streaming on the same Wi‑Fi can create stutter.
- Use Ethernet for the TV device if your Chromecast target supports it, Wi‑Fi hop count matters.
- Accept some latency, casting is for viewing, not for playing on the TV, timing-based games will still feel delayed to viewers.
Audio notes (common confusion)
- If the TV has no sound, check the TV volume first, then restart the cast session.
- Some setups send audio to the headset while video goes to TV, that behavior can vary by app and casting route.
Safety, privacy, and when to get extra help
Casting is mostly low-risk, but a couple things are worth saying out loud. If you cast in a shared space, be mindful that notifications or account info might appear on screen depending on what you open in VR.
If your router is managed by an employer, school, or building, changes like disabling client isolation may not be allowed, in that case the browser-to-HDMI method is often the cleanest workaround without touching network settings.
If you suspect your Wi‑Fi hardware is unstable, frequent drops across multiple devices, random reconnects, it may be worth asking your ISP or a network professional, especially if you rely on that connection for work.
Conclusion: a simple plan that usually works
If you want the least drama, start with Chromecast casting, and keep the browser-to-HDMI path as your backup. Once the network basics are correct, how to cast quest 3 to tv becomes a repeatable routine instead of a nightly puzzle.
Your next move, pick one method, run the checklist once, and save the working setup so you can recreate it in two minutes before friends show up.
FAQ
Why is my Quest 3 not finding my TV in the Cast list?
Usually the TV is not a supported casting target, or both devices are not discoverable on the same network. Guest Wi‑Fi and router client isolation are common blockers.
Can I cast Quest 3 to a Roku TV?
In many cases you cannot select Roku as a direct casting target. People often use a Chromecast device plugged into the Roku TV, or cast to a phone/PC and mirror from there, with some extra lag.
Does Quest 3 casting work without Wi‑Fi?
Typically no, because the cast stream uses your local network. If you do not have Wi‑Fi, your most realistic option is casting to a computer on a temporary local network, then HDMI to the TV, but setup varies by hardware.
How do I reduce lag when casting Quest 3 to a TV?
Use a strong 5 GHz signal, keep the headset near the router, and avoid busy networks. If you can, use a Chromecast target on Ethernet, it often improves stability.
Is it normal that the video looks slightly blurry on TV?
Yes, sometimes. Casting is a compressed stream, not a 1:1 mirror. If it is very blocky, that points to Wi‑Fi quality or interference more than headset settings.
Can I cast Quest 3 gameplay with audio to the TV?
Often yes, but audio routing can vary by app and casting method. If audio stays on the headset, restart the cast session and check TV input settings, and consider the browser casting route for more control.
What is the most reliable way to cast for a party or demo?
Chromecast is the simplest when supported, but if your home network is finicky, browser casting to a laptop plus HDMI to TV is the steady option you can troubleshoot quickly.
Lightweight next step
If you are trying to cast for a family night, a classroom demo, or a client walkthrough and you want a more predictable setup, it can be worth standardizing on one “known good” path, usually Chromecast or browser-to-HDMI, then documenting your steps so anyone can run it without guessing.